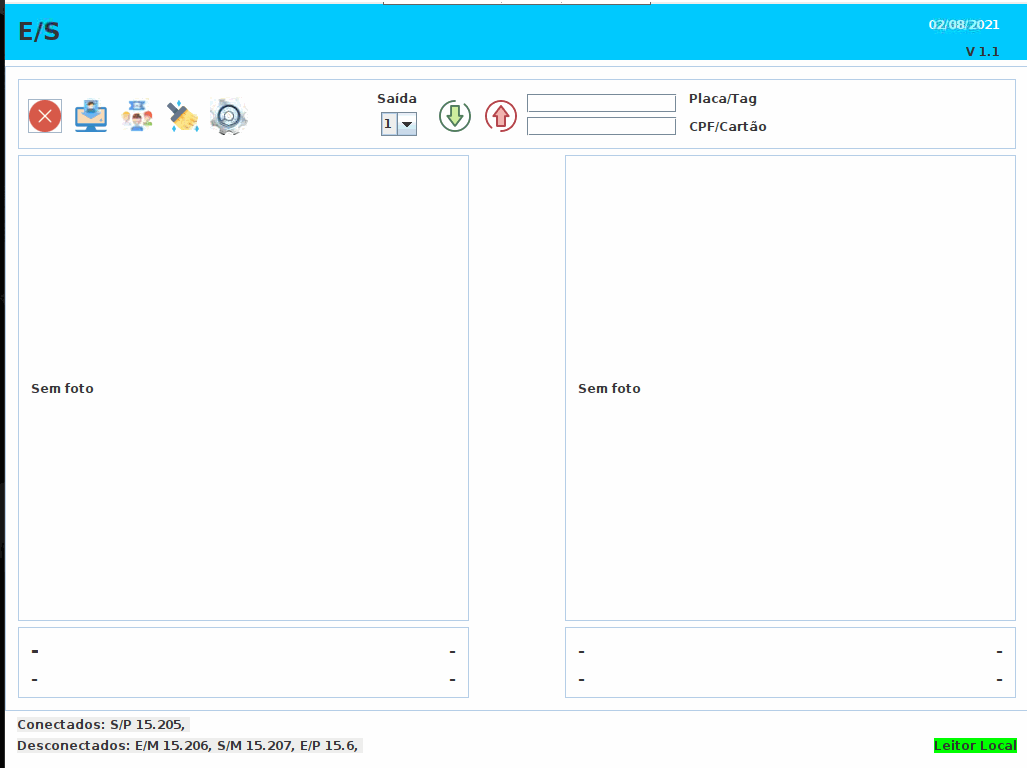
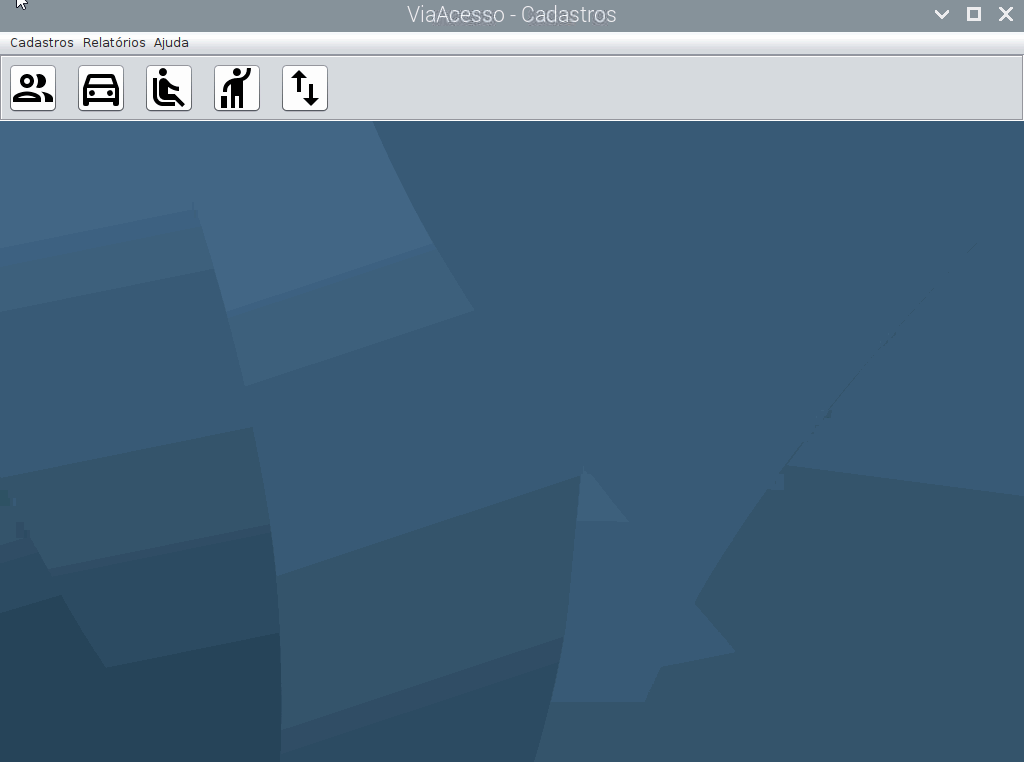
Registrations
The registration can be accessed through the monitoring screen:
- Click the button, when opening the login screen, just enter the default password: User: admin/Password: admin
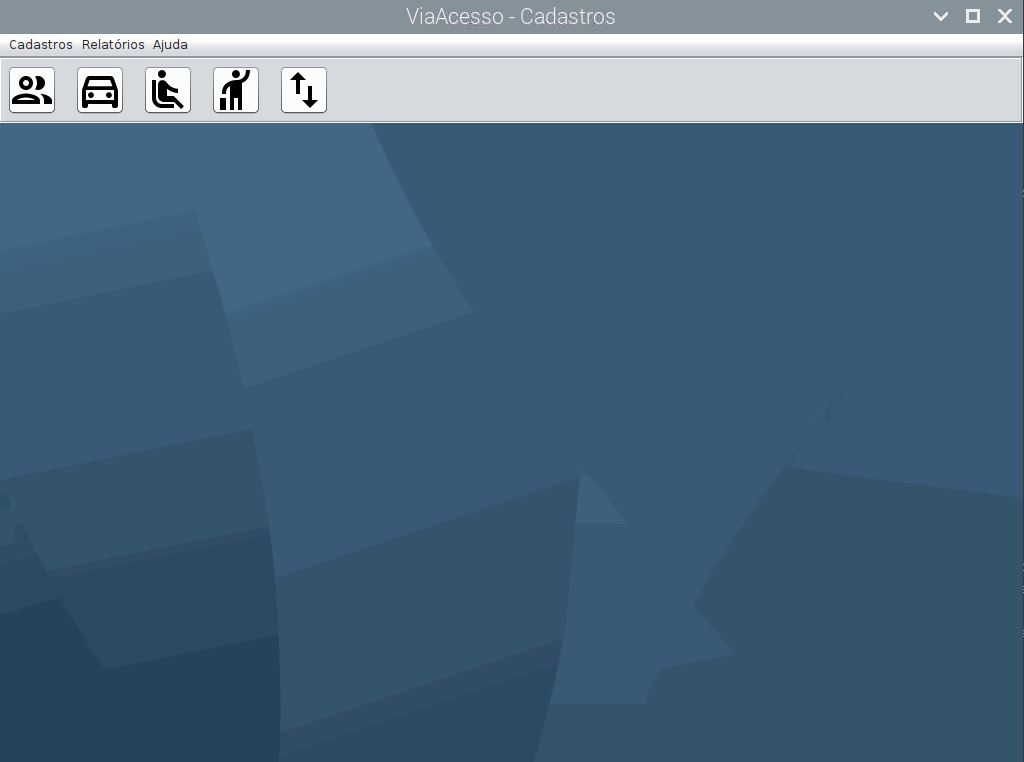
Registrations
In order for the registrations to be carried out successfully, the following order must be followed:
Street
- First, register the Streets (if any), it can be accessed from the Registers menu

- Enter street name
- Enter a reference (optional)
- Click the Save button
 and confirm that it was successfully recorded
 - To clear the fields click on the clear button

- When recording, the fields are automatically cleared, so if you wish, just fill in another record and save, and so on.
Block
- After completing the registration of blocks (if any), it can be accessed from the Registrations menu.

- Enter the name/identification of the block.
- Choose (if any) the street associated with the block.
- Enter a reference (optional).
- Click the Save button and confirm that it was successfully recorded
- To clear the fields click on the clear button
- When recording, the fields are automatically cleared, so if you wish, just fill in another record and save, and so on.
Manufacturer Vehicles
- Here, the registration of vehicle manufacturers is carried out, to identify the registered vehicles. This register already has pre-loaded records, and its records can be checked later following the instructions in the Reports and Relationships section. If there is a need for a new registration, access the registration through the Registrations menu:

- Enter the name of the Manufacturer
- Click the Save button and confirm that it was successfully recorded
- To clear the fields click on the clear button
- When recording, the fields are automatically cleared, so if you wish, just fill in another record and save, and so on.
Model Vehicles
- Here, the registration of vehicle models is carried out, as well as in the manufacturers, this registration already has pre-loaded records, which can be verified following the instructions in the Reports and Relations section. If there is a need for a new registration, access the registration through the Registrations menu:

- Put the name of the Model
- Click the Save button and confirm that it was successfully recorded
- To clear the fields click on the clear button
- When recording, the fields are automatically cleared, so if you wish, just fill in another record and save, and so on.
Time Group
- For access by fixed service providers, such as bricklayers, maids, gardeners, swimming pool builders, among others, a Schedule Group is created. On this screen, allow times will be registered so that these people can access the location, with Start and End times and days of the week defined. The person who accesses outside the opening hours will be prevented from entering. To register the timetables, access the screen through the Registers menu:

- To register, choose the days of the week in the checkbox on the side
- Choose Start Time and End Time
- Give the time group a friendly name
-Click the Save button and confirm that it was successfully recorded
- To clear the fields click on the clear button
- When recording, the fields are automatically cleared, so if you wish, just fill in another record and save, and so on.
- Above the screen there is a choice of groups already registered, if you want to change any group, just choose above, the fields below will be filled with the registered information, so change what you want
- Click the Save button and confirm that it was successfully recorded
- To clear the fields click on the clear button
- If you want to delete any group, just select it above, and click the Delete button
 and confirm the deletion
People
- On this screen, we will register residents and fixed services. We can access it through the Registration menu:

- fill in the name
- Choose if the user will be active or not in the system
- Enter the CPF (CPF must be valid, otherwise it will not save)
- Enter the access card number
- Select the previously registered Street and/or block
- If it is a residence, fill in the number, if it is an apartment, fill in the AP field
- You can choose to block entry and describe the reason
- If you wish, you can add notes
- If it is fixed service people (maid, pool attendant, gardener, etc) that the resident has chosen to deliver access card to, activate the services option
- If the services option is chosen, below will appear the options for Time Group and Responsible Resident, choose the previously registered group and the resident responsible for the service
- For a photo, you can take it directly through a connected webcam, just click on the Take Photo button

- You can choose a photo from a file, click on the Choose photo button
 go to the place where the photo is, and click on Open
 - To delete the photo, just click the Delete Photo button

- Click the Save button and confirm that it was successfully recorded
- To clear the fields click on the clear button
- When recording, the fields are automatically cleared, so if you wish, just fill in another record and save, and so on.
Visitors
- On this screen, we will record the visitors. Only basic information is included in the registration, and the information read for access is transferred to the registration only on the monitoring screen when the visitor arrives at the access gate. To register, access the Registration menu:

- fill in the name
- Fill in the CPF
- Choose whether the registration is active or not
- You can choose to block entry and describe the reason
- If you wish, you can add notes
- For a photo, you can take it directly through a connected webcam, just click on the Take Photo button
- You can choose a photo from a file, click on the Choose photo button go to the place where the photo is, and click on Open
- To delete the photo, just click the Delete Photo button
- Click the Save button and confirm that it was successfully recorded
- To clear the fields click on the clear button
- When recording, the fields are automatically cleared, so if you wish, just fill in another record and save, and so on.
Vehicle
- Here on this screen we register the vehicles, they can belong to a resident, a person from fixed services or a visitor. To register access through the Registers menu:
- Choose vehicle type
- Check or uncheck the option if you want the vehicle registration to be active or not
- Fill in the RENAVAM (optional)
- Fill in the board (No dashes or spaces)
- Choose the previously registered model (You can quickly type the model to search in the selection box)
- Choose the previously registered manufacturer
- Fill color (optional)
- Fill the chassis (optional)
- Fill in the Year of Manufacture (optional)
- Fill in the Model Year (optional)
- Fill in the TAG (mandatory field, except for a visitor vehicle)
- Choose the type of vehicle owner in the selection box (Resident, Services or Visitor)
- Choose in the selection box below the owner of the Vehicle
- Add notes if you wish
- For a photo, you can take it directly through a connected webcam, just click on the Take Photo button
- You can choose a photo from a file, click on the Choose photo button go to the place where the photo is, and click on Open
- To delete the photo, just click the Delete Photo button! img
- Click the Save button and confirm that it was successfully recorded
- To clear the fields click on the clear button
- When recording, the fields are automatically cleared, so if you wish, just fill in another record and save, and so on.
Driver
- On this screen we will alienate drivers to vehicles. Normally, people who live in the same residence share vehicles, so to allow them to enter when identifying the driver, we need to register them. For this registration, access the menu Registrations:

- Choose vehicle owner
- Choose the vehicle (A person can have more than one vehicle)
- Choose the driver
- Click the Save button and confirm that it was successfully recorded
- To clear the fields click on the clear button
- When recording, the fields are automatically cleared, so if you wish, just fill in another record and save, and so on.
- If you want to change the record, just look for the owner in the selection box at the top of the table, choose the desired record and click, the information will be filled out on the side, so just change what you want, click on the Save button and confirm if it was changed successfully
- To delete a record, just select the desired record, and click the Delete button and confirm the deletion
User
- On this screen we will register users of the registration system, so that it can be accessed on the login screen

- Fill in the username
- Fill in the access login
- Fill in the access password
- Click the Save button and confirm that it was successfully recorded
- To clear the fields click on the clear button
- When recording, the fields are automatically cleared, so if you wish, just fill in another record and save, and so on.
Reports
In the reports menu, there are the reports and relations of what was recorded and registered, accessing it, we have the screens of the respective registrations, and the fields for searching for records. In most of the screens, we also have buttons for Registration, change and deletion of registration. Check out the screens and their functions below:
Streets
- On this screen, we have the list of registered Streets, access it through the Reports Menu:
- In the list, you can choose a record and edit it, for that choose and click on the edit button
 or double-click on the record
 - The registration screen will open with the information of the chosen record, so just edit what you want, click on the Save button and confirm if it was changed successfully
- To delete a record, simply select the desired record and click the Delete button and confirm the deletion
-Records that are alienated to a block or Person registration cannot be deleted, being necessary to modify or delete the associated records
- If you want to register, click the add button
 and the registration screen will open, so just follow the steps of
register
and the registration screen will open, so just follow the steps of
register - To search just type in the search box the name or part of the street name and click search
- To clear the search and bring up all records again, just click the clear button below
- In the list, you can choose a record and edit it, for that choose and click on the edit button
Blocks
- On this screen, we have the list of Registered Blocks, access it through the Reports Menu:
 .
.- In the list, you can choose a record and edit it, for that choose and click on the edit button or double-click on the record
- The registration screen will open with the information of the chosen registration, so just edit what you want, click on the Save button and confirm if it was changed successfully.
- To delete a record, simply select the desired record and click the Delete button and confirm the deletion.
- Records that are alienated to a Person registration cannot be deleted, being necessary to modify or delete the associated records
- If you want to register, click the add button and the registration screen will open, so just follow the steps of
register
- To search just type in the search box the name or part of the name of the Block and click on search
- To clear the search and bring up all records again, just click the clear button below
- In the list, you can choose a record and edit it, for that choose and click on the edit button
Manufacturers
- On this screen, we have the list of Registered Vehicle Manufacturers, access it through the Reports Menu:

- In the list, you can choose a record and edit it, for that choose and click on the edit button or double-click on the record
- The registration screen will open with the information of the chosen registration, so just edit what you want, click on the Save button and confirm if it was changed successfully
- To delete a record, simply select the desired record and click the Delete button and confirm the deletion
- Records that are alienated to a Vehicle registration cannot be deleted, being necessary to modify or delete the associated records
- If you want to register, click the add button and the registration screen will open, so just follow the steps of
cadastro
- To search just type in the search box the name or part of the name of the manufacturer and click on search
- To clear the search and bring up all records again, just click the clear button below
- In the list, you can choose a record and edit it, for that choose and click on the edit button
Models
- On this screen, we have the list of Registered Vehicle Models, access it through the Reports Menu:

- In the list, you can choose a record and edit it, choose and click on the edit button or double-click on the record
- The registration screen will open with the information of the chosen registration, so just edit what you want, click on the Save button and confirm if it was changed successfully
- To delete a record, just select the desired record, and click the Delete button and confirm the deletion
- Records that are alienated to a Vehicle registration cannot be deleted, being necessary to modify or delete the associated records
- If you want to register, click the add button and the registration screen will open, so just follow the steps of
cadastro
- To search just type in the search box the name or part of the name of the model and click on search
- To clear the search and bring up all records again, just click the clear button below
- In the list, you can choose a record and edit it, choose and click on the edit button
People
This screen is accessible from the Menu of buttons on the main screen, to access it just click on the button 
- On this screen, we have the list of Registered Persons, access it through the Reports Menu:
- In the list, you can choose a record and edit it, for that choose and click on the edit button or double-click on the record
- The registration screen will open with the information of the chosen registration, so just edit what you want, click on the Save button and confirm if it was changed successfully
- To delete a record, just select the desired record, and click the Delete button and confirm deletion
- Records that are alienated to a Vehicle or Driver record cannot be deleted, being necessary to modify or delete the associated records
- If you want to register, click the add button and the registration screen will open, so just follow the steps of registration
- To search just type in the search box the name or part of the name, CPF or card of the person and click on search
- To clear the search and bring up all records again, just click the clear button below
- In the list, you can choose a record and edit it, for that choose and click on the edit button
Vehicles
This screen is accessible from the Menu of buttons on the main screen, to access it just click on the button ![]()
- On this screen, we have the list of Registered Vehicles, access it through the Reports Menu:

- In the list, you can choose a record and edit it, for that choose and click on the edit button or double click on the record
- The registration screen will open with the information of the chosen registration, so just edit what you want, click on the Save button and confirm if it was changed successfully
- To delete a record, just select the desired record, and click the Delete button and confirm the deletion
- Records that are alienated to a Driver registration cannot be deleted, being necessary to modify or delete the associated records
- If you want to register, click the add button and the registration screen will open, so just follow the steps of registration
- To search just type in the search box the model, owner, license plate or tag of the vehicle and click on search
- To clear the search and bring up all records again, just click the clear button below
- In the list, you can choose a record and edit it, for that choose and click on the edit button
Drivers
This screen is accessible from the Button Menu on the main screen, to access it just click on the button 
- On this screen, we have the list and registration of registered Drivers, all its features were described in the section Driver, to access, go through the Reports Menu:

visitors
This screen is accessible from the Button Menu on the main screen, to access it just click on the button 
- On this screen, we have the list of Registered Visitors, access it through the Reports Menu:
 -In the list, you can choose a record and edit it, for that choose and click on the edit button or double-click on the record
- The registration screen will open with the information of the chosen registration, so just edit what you want, click on the Save button and confirm if it was changed successfully
- To delete a record, just select the desired record, and click the Delete button and confirm the deletion
- Records that are alienated to a Driver or Vehicle registration cannot be deleted, being necessary to modify or delete the associated records
- If you want to register, click the add button and the registration screen will open, so just follow the steps of registration
-To search just type in the search box the name or part of the name, CPF or visitor card and click on search
- To clear the search and bring up all records again, just click the clear button below
- The registration screen will open with the information of the chosen registration, so just edit what you want, click on the Save button
Users
- On this screen, we have the list of Registered Users, access it through the Reports Menu:

- In the list, you can choose a record and edit it, for that choose and click on the edit button or double-click on the record
- The registration screen will open with the information of the chosen registration, so just edit what you want, click on the Save button! img and confirm if it was changed successfully
- To delete a record, just select the desired record, and click the Delete button and confirm deletion
- If you want to register, click the add button and the registration screen will open, so just follow the steps of registration
- To search just type in the search box the name or part of the name of the user and click on search
- To clear the search and bring up all records again, just click the clear button below
- In the list, you can choose a record and edit it, for that choose and click on the edit button
Flow
This screen is accessible from the Menu of buttons on the main screen, to access just click on the button![]()
- This screen brings information about access flow inputs and outputs records. It can be accessed through the Reports menu:
- Above are the search boxes with various parameters, you can combine these parameters to find the desired data, to do so, just enter the desired search preferences and click search
- To clear the search and reload all records, click clear
- The lines of the records have colors, as follows:
- Red - Record with occurrence
- Green - Tickets
- Blue - Departures
- If a line is red, we can change the record in order to correct the problem that may have caused the occurrence, if it is a record NOT REGISTERED, right-click on it and choose the register option, if it is any other occurrence that is not registration, click Change, the screen corresponding to the record will open to make the change
- If the line does not have occurrences, but it is a record of a visitor, right-clicking on the details option, you can check which card was accessed, where the visitor went, and the length of stay recorded for the same, in addition to your license plate
Help
This menu has two options
- Manual
- A link that takes you to the Manual's home page
- About
- Opens a window that shows information about the software
- Opens a window that shows information about the software