Settings
To use the software, it is necessary to configure the UHF antennas, register the 125Khz proximity readers and all activation release parameters.
Below are the steps for configuration
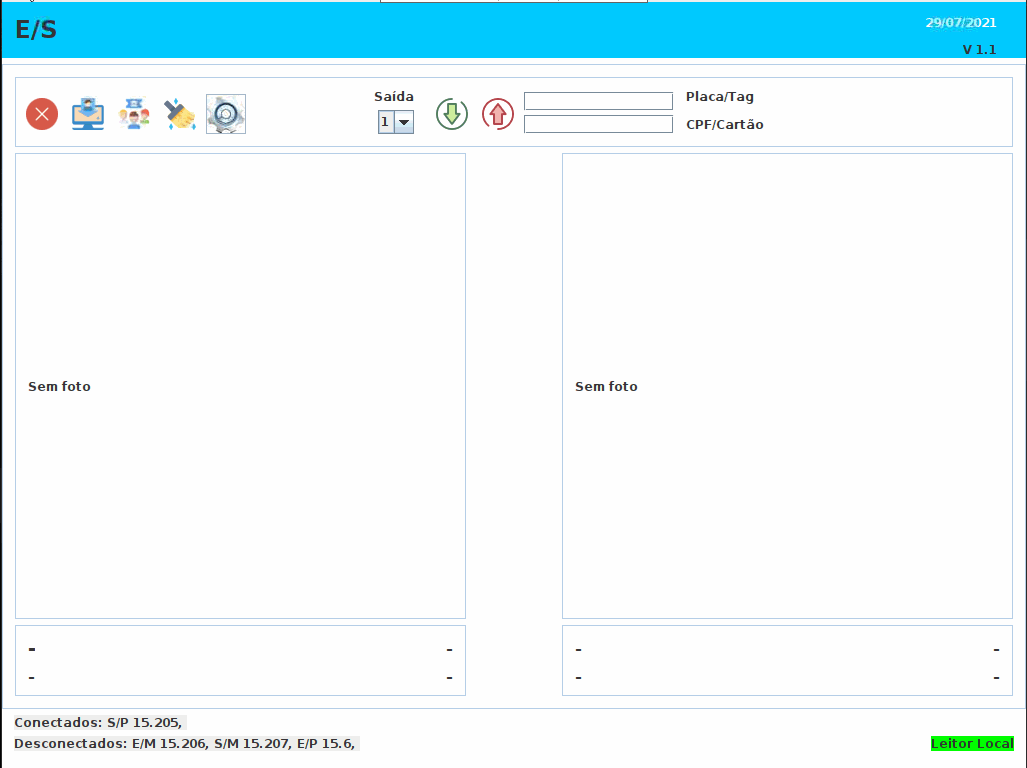
- When starting the module, the monitoring screen will automatically open, click on the gear button on the top bar to access the settings
Proximity Readers
Each reader has a configuration page that can be accessed from any browser, it is already pre-configured, but if you need to change the IP, follow the steps below:
- Make sure they are connected to the router/switch
- Make sure they are connected to the mains
- Type in the browser the IP that is on the label pasted inside the reader's box

- The page will ask for username and password - User: admin/Password: admin
- After entering, go to Local IP Config

- In the Static IP property, put the desired IP, followed by the Submask and Gateway information, which references your router, and then click save
UHF Readers
This section comprises the configuration of the module itself, the configuration of the 4 UHF RFID antennas and the module outputs
- In the UHF readers section we will configure the UHF antennas and also sensor and reading options

- Each antenna matches the antennas on the module's respective inputs.
Mode
The Mode is whether the orientation of the stream that the antenna is reading
- Input - Represents that the antenna will read the Input
- Output - Represents that the antenna will read the Output
Reading
The reading represents which of the elements the antenna will process
- Vehicle - The antenna will process vehicle tags
- Pedestrian - The antenna will process pedestrian tags
- Driver - The antenna will process Driver tags
Exit
The output will represent which of the module outputs will be activated, it must be activated according to what was connected, if a gate was connected to output 1, for example, when reading the vehicle or driver, the pulse will be given at output 1
- 1 - Activates the S1
- 2 - Activate the S2
- 4 - Activates the S4
Attention
When there are readers for Drivers, the outputs for the antennas of vehicle readings are inactivated, as the release occurs only with the identification of the driver
Enable Sensor
This checkbox allows you to enable sensor readings at vehicle entrances. The reading of the antennas only activates when the sensor detects the vehicle. With this option unchecked, the antenna keeps a constant reading. The options for the sensors are:
- Sensor 1 - From this list, choose which of the antennas will trigger the reading by sensor 1
- Sensor 2 - From this list, choose which of the antennas will trigger the reading by sensor 2
- Reading Time - After activating the sensor, the antenna triggers and waits for the tag reading for the time determined in this choice, which ranges from 5 to 20 seconds, the reading stops when the antenna manages to read the tag or when the time is up
Module Power
- In this option, the reading power is chosen from the list, which ranges from 1 to 32 dB, which can be useful when there is a need to control the reading signal in a given environment
Release only with Vehicle
- When selected, the gate is activated only when the vehicle is read, regardless of whether the driver is reading or not, if not selected, the gate is only released after identifying both the vehicle and the driver
Save information
- After making all the necessary choices, just click on the save button, and all the information will be saved in a properties file
Ethernet/Modules
This section will allow the registration of 125Khz proximity readers and their properties
- In this part we have the cadastral part

- And the list of already registered readers with connected or disconnected status

Below are the features:
- Type - Choose the type of reader you want to register
- Ethernet - They are 125Khz proximity readers
- Output - Which of the outputs will this reader trigger
- Mode - Which mode this scanner will process, whether Input or Output
- Reading - Whether the reader will process Pedestrian or Driver reading
- IP - Enter the reader's IP here, which is on the label inside the reader's box, or the IP that the user previously configured
- Port - This information is also on the label, the default port for all readers is 5000
- Active - When selected, the reader is active and connection will be made when starting the system, if unchecked, the system does not connect to it and ignores it
- Clear button - Clears information from fields
- Delete button - Deletes the displayed information
- Save button - Saves reader information
In the grid, to edit any reader just click and the information will appear, then modify and click save, to delete, click, select and press the delete button
Attention
Any and all modifications to the readers will require a system restart to be able to reconnect and apply the modifications, so perform all the desired settings, and then restart the system