Instructions for use
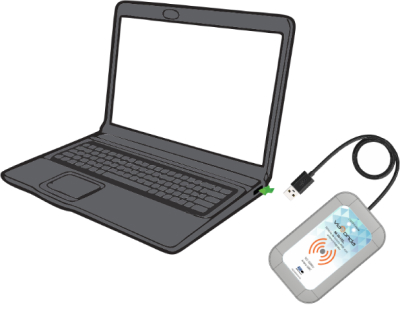
General connection diagram
Driver Installation
If your computer does not recognize the reader, you can install a driver that allows access to the product on your machine, this driver can be found available for download in our restricted area.
![]()
After installing the driver, you will be able to connect the reader to your machine.
Reading modes
When starting your MID10s for the first time, it will be in its original factory settings, so we will need to access it to configure the reader according to its application in the project.
To be able to access the settings saved in our reader, we must download its SDK, through ViaOnda's restricted area, you must download the package CFUHFReaderV4. 0 and open the executable file, then you will find this page.
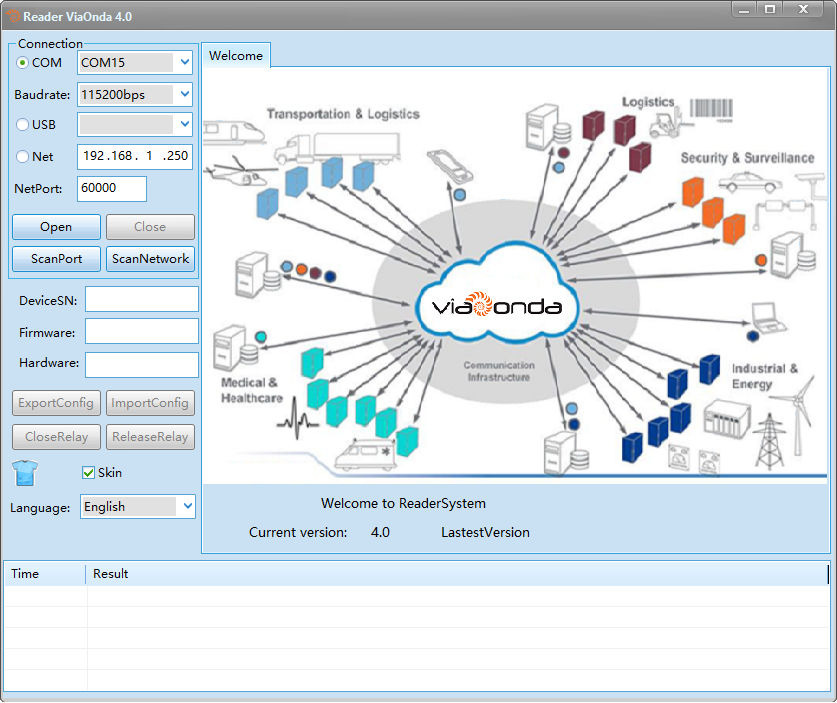
There are two models of the MID10s reader, that would be the HID model and the standard one with keyboard emulator.
USB Serial: contains the reader's basic functionality, to connect to it you must select the COM port.HID: contains a "native" keyboard emulator, which can be configured in the reader's own interface. If your reader is of this model, the SDK will automatically identify it, as shown in the image below.
ParameterSet
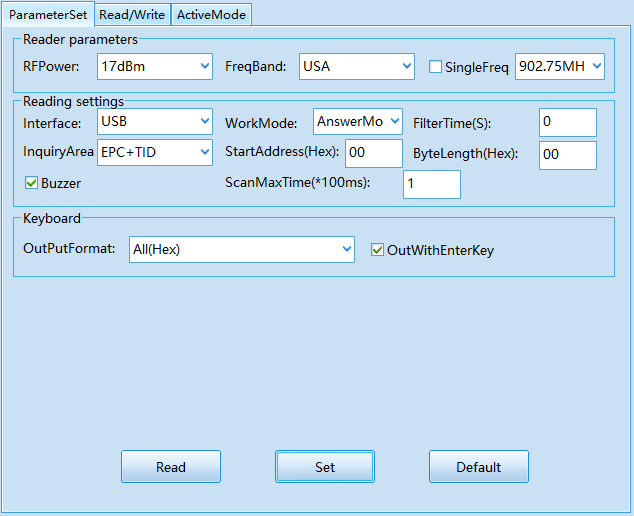
RFPower: defines the reading power, from 1dBm to 17dBm.FreqBand: automatically defines the network range regulated by Anatel, according to your location.SingleFreq: manually set the desired network band.Interface: the mode of use of the reader, when USB you can use it integrated in some software or by the SDK itself.WorkMode: defines the reader's operation mode, which can be AnswerMode(that is, it waits for an external command to start the reading), or ActiveMode(always performs the reading when the tag approaches the reader).FliterTime(s): performs the reading with an interval in seconds according to the time you configure in this field.InquiryArea: selects the information to be read from a given tag.StartAddress(Hex): when configured, the reader will retrieve the HEX code from the configured position.ByteLength(Hex): when configured, the reader will bring the HEX code to the configured position only.Buzzer: when disabled, the buzzer will be in silent mode, that way you will not have a sound signal when the reading is performed.ScanMaxTime(*100ms): maximum reading scan time.OutPutFormat: output format of readings in keyboard mode (HID).OutWithEnterKey: perform a line break after each tag is read. Thus, each EPC read will be on a different line.Read: refactors the settings to those already saved in the reader.Set: saves the settings made.Default: refactors the settings to the factory recommended ones.
Read/Write
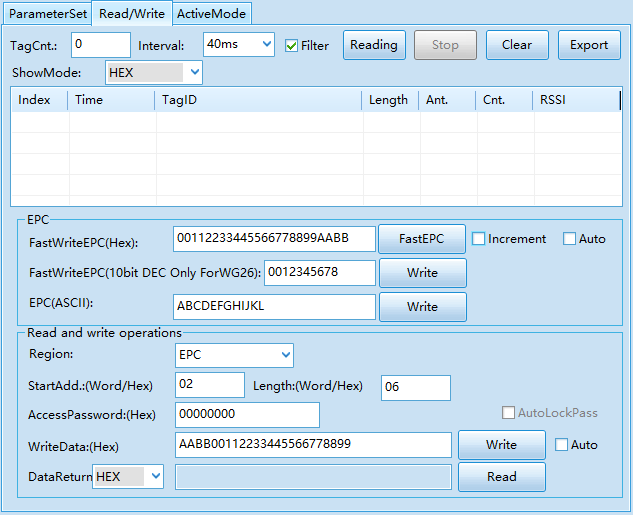
Reading: starts tag reading (it is necessary that the WorkMode field is saved as AnswerMode).Stop: stops reading the tags.Clear: clears the list of read tags.Export: exports table in "xls" format with tag reading.FastWriteEPC(Hex): describes which Hexadecimal code will be written in the EPC of the tag.FastEPC: writes Hexadecimal code in the EPC of the tag.Increment: adds one more to the tag's EPC, for example, if the last tag you recorded ends with 0, the next will be 1, then 2, 3, 4 and so on.Auto: performs the automatic recording of the tag without having to press FastEPC.
KeyBoard HID
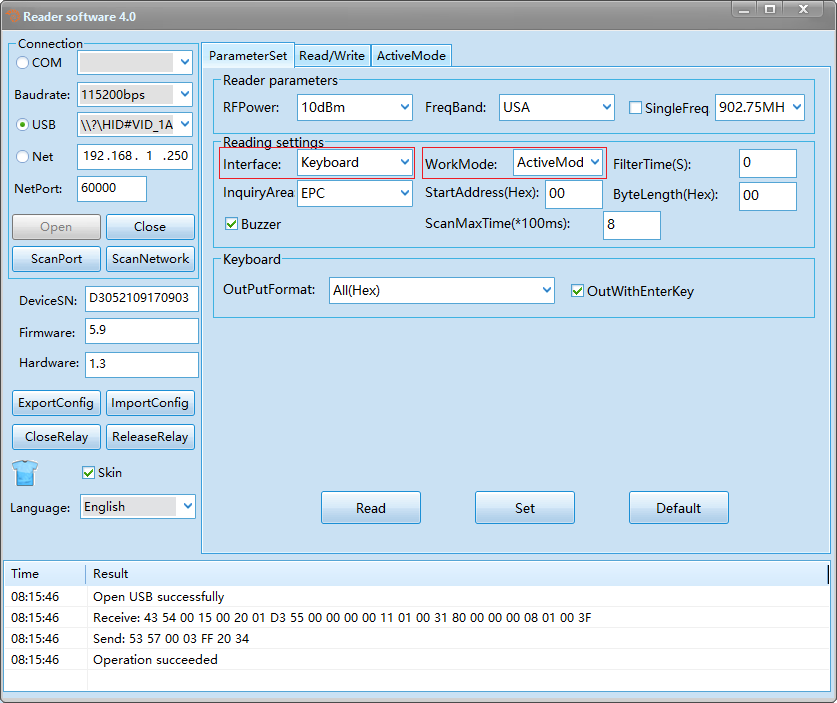
If the reader is HID, you can use it by setting its interface as KeyBoard(keyboard) and its operation mode as ActiveMode(Standalone Mode), like the following example:
