Instructions for use
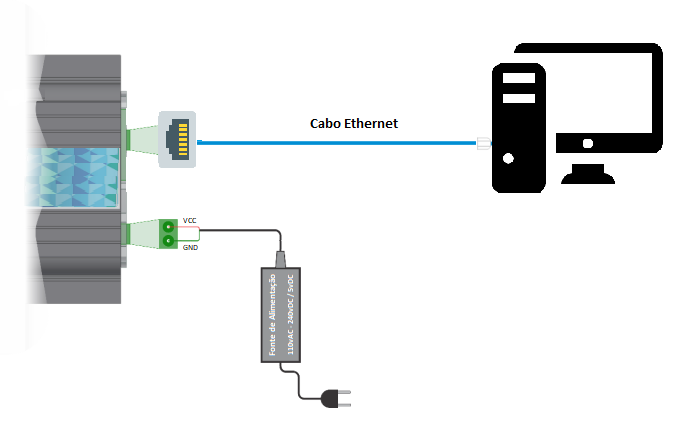
Mounting M-ID03 - Ethernet
In order to be able to use the module, we must first connect the power supply and ethernet communication, as shown in the illustration below:
Settings
- Before accessing the panel to send commands to the module, we must first ensure that it is in the same network range as your computer, for this we will configure IPV4.
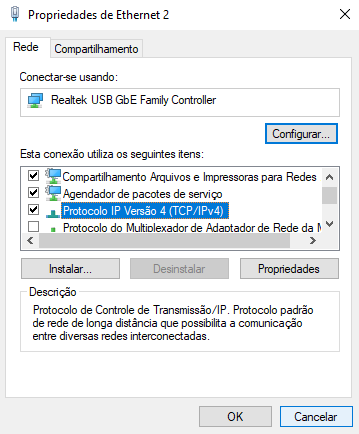
- After clicking on the protocol configuration, it will be available for you to configure your machine's network.
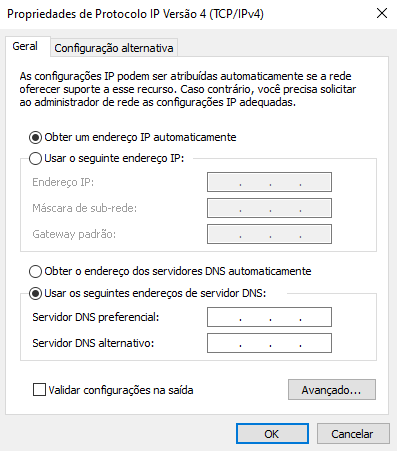
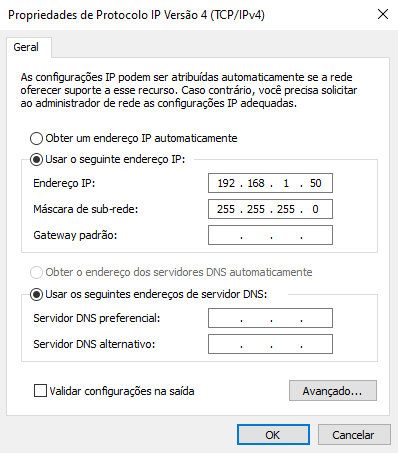
- You must configure it according to the network range of your interface.
Warning
Remembering that every configured IP must always be static, for it to work properly
Web service
| Command | Function |
|---|---|
| Relay All ON | Triggers all relays |
| Relay All OFF | Turn off all relays |
| http: /ip/port/01 | relay-01 off |
| http: /ip/port/02 | relay-01 on |
| http: /ip/port/03 | relé-02 off |
| http: /ip/port/04 | relay-02 on |
| http: /ip/port/05 | relay-03 off |
| http: /ip/port/06 | relay-03 on |
| Change IP/Port | Change the interface's IP |
Commanding Interface
- After configuring, we can access the interface through its panel command, as shown in the image below.


| Command | Function |
|---|---|
| Relay All ON | Triggers all relays |
| Relay All OFF | Turn off all relays |
| Relay-01 | Output 1 on and off |
| Relay-02 | Output 2 on and off |
| Relay-03 | Output 3 on and off |
| Change IP/Port | Change the interface's IP |
IP/Port Configuration

| Command | Function |
|---|---|
| New Adder | Change IP number |
| New Port | Change port number |
- After filling in both fields, the interface will already be working with the new IP and/or port.